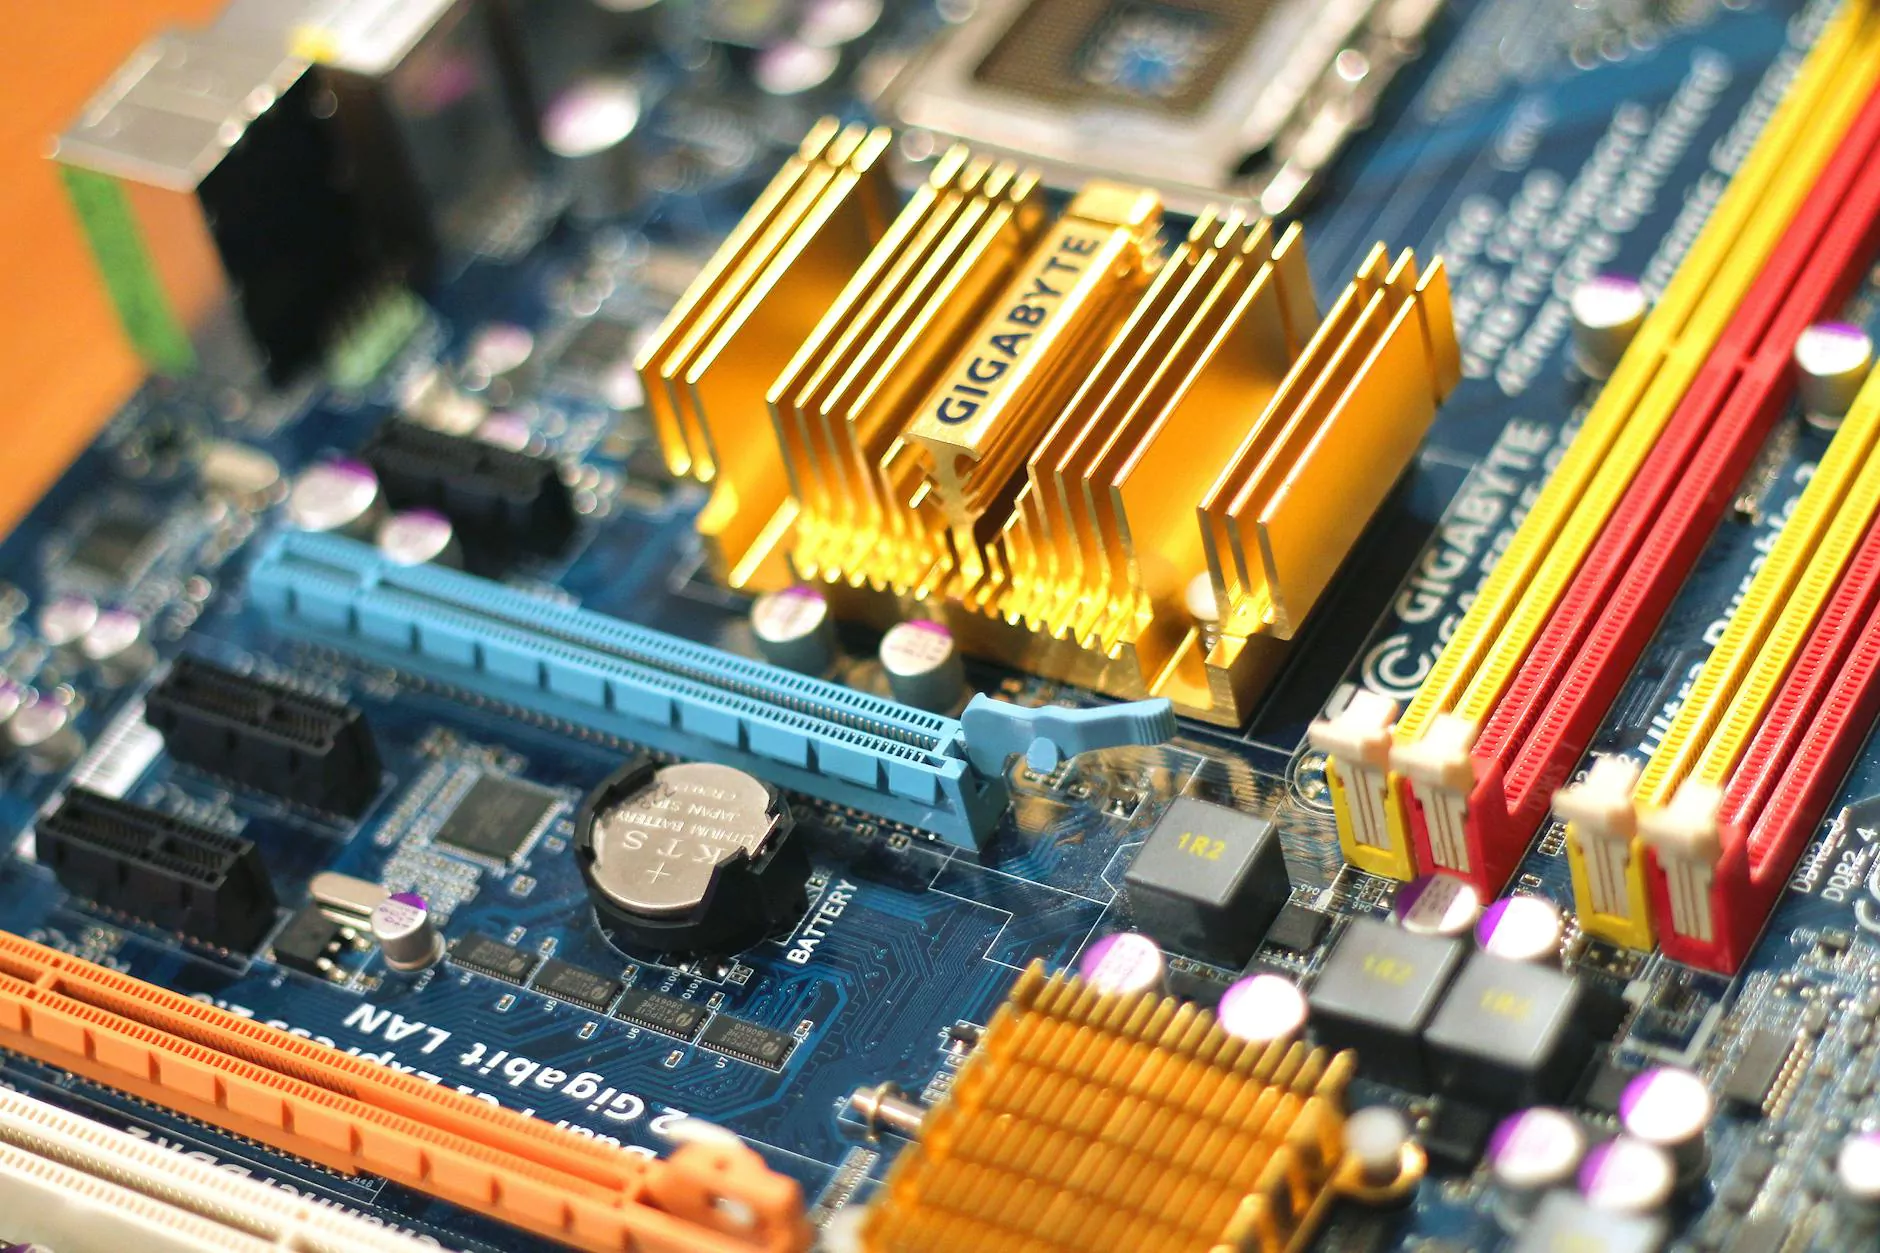
The Complete Guide to Enabling Virtualization in BIOS for Gigabyte Motherboards
As businesses and individuals alike seek to enhance their computer systems' capabilities, virtualization has become an essential tool. Gigabyte motherboards are known for their reliability and performance, and enabling virtualization in the BIOS can further optimize your computer's potential. In this comprehensive guide, we will walk you through the process of enabling virtualization in BIOS specifically for Gigabyte motherboards.
Understanding Virtualization and its Benefits
Virtualization is the process of creating a virtual representation rather than actual instances of computer resources such as operating systems, storage devices, or network resources. By enabling virtualization, you can run multiple operating systems on a single physical machine, improving efficiency, flexibility, and cost-effectiveness.
Why Enable Virtualization in BIOS for Gigabyte Motherboards?
Enabling virtualization in the BIOS of your Gigabyte motherboard is crucial to harness the full potential of virtualization technology. By activating virtualization features in the BIOS, you can ensure optimal performance and compatibility for virtualized environments.
Step-by-Step Guide to Enable Virtualization in BIOS for Gigabyte Motherboards
- Accessing BIOS Settings: Restart your computer and enter the BIOS setup by pressing the designated key (usually Del, F2, or F10) during the boot process.
- Navigating to Virtualization Settings: Locate the virtualization settings tab within the BIOS menu. The exact location may vary depending on your Gigabyte motherboard model.
- Enabling Virtualization: Once you have located the virtualization settings, enable the feature by selecting the appropriate option (e.g., Virtualization Technology, SVM Mode, VT-x) and setting it to "Enabled".
- Save and Exit: Save the changes you have made to the BIOS settings and exit the setup. Your Gigabyte motherboard is now configured to support virtualization.
Tips for Successful Virtualization Setup
- Update BIOS: Ensure that your Gigabyte motherboard's BIOS is up to date to access the latest features and optimizations for virtualization.
- Check Compatibility: Verify the compatibility of your CPU and motherboard with virtualization technology to avoid any compatibility issues.
- Test Virtualization: After enabling virtualization in the BIOS, test the functionality by running virtualized environments to confirm successful implementation.
Enhancing Performance with Virtualization
By enabling virtualization in the BIOS for your Gigabyte motherboard, you can unlock a new level of performance, efficiency, and flexibility for your computing needs. Whether you are a business looking to increase server efficiency or an individual exploring new software environments, virtualization offers a range of benefits that can elevate your computing experience.
Conclusion
Enabling virtualization in the BIOS for Gigabyte motherboards is a simple yet effective way to optimize your computer's capabilities. By following the step-by-step guide provided in this article and implementing the tips for successful virtualization setup, you can harness the power of virtualization technology for improved performance and efficiency.
how to enable virtualization in bios gigabyte